
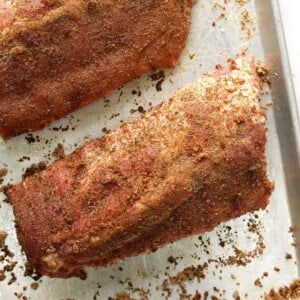
24-hour sous vide ribs
By Harper Garcia
20’
Prep time
1’
Cook time
21’
Total time
360
Calories
4
Serving
Summary
24 hour sous vide ribs were one of the first ever sous vide recipes i came up with. it’s actually my husband mark’s recipe and to this day, we make them almost every time we go to our cabin with a large group of people. they are the best way to get ultra-tender, fall-off-the-bone ribs and everyone we’ve ever cooked these for raves about them.
Harper Garcia
0 Followers
Step by Step
Step 1
Step 2
Step 3
Step 4
Step 5
Step 6
Step 7
Step 8

Step 9
Step 10
Tips and Warnings
- If your ribs are cool when you start the grilling process, we suggest turning your grill to about 350ºF and heating your rack for 10 mintues before adding the sauce and turning the heat up to 450ºF.
- We’ve made this recipe with both baby back pork ribs and St. Louis-style pork ribs.
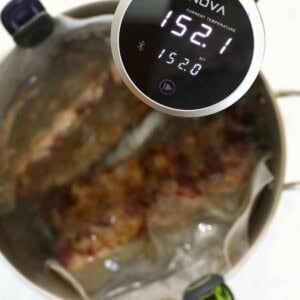
- Tin Foil –> Cover your pot with tin foil to prevent the water from evaporating. Trust me, it works!
- Clips –> Bag clips or clothespins make for an amazing tool for helping your bag of meat stay submerged. Clip them right to the side of the pot.
- Check Water –> Check on your ribs every 6-12 hours to be sure that water hasn’t evaporated. If it has, just pour enough hot water back into the pot to make sure the ribs stay underwater for the whole 24 hours.
Ingredient
-
 Olive oil7.39 ml
 -
Bbq sauce118.29 ml
-
Pork dry rub*177.44 ml
-
Rack of baby back pork ribs1
Related Recipe

327
kcal
463
kcal
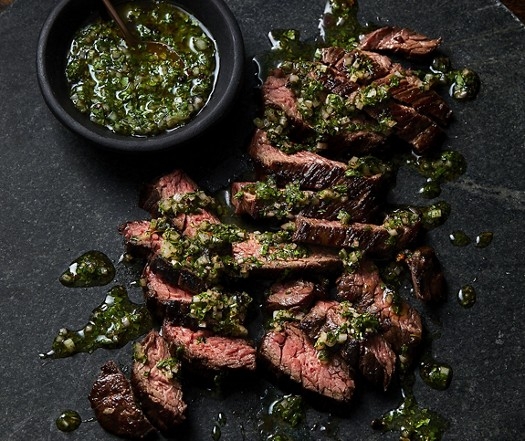
Chipotle chimichurri
Fresh, zingy, fragrant: this recipe combines the argentinian and spicier mexican approaches to the classic sauce, with the addition of smoky heat from the chipotle. winning.
989
kcal